In short
Handleless means choosing a grip: a profile gives a strong line, a routed groove disappears, and push-to-open is cleanest but needs careful setting and even gaps. Fluted timber is cut from a single panel so the pattern runs across the doors, and fluted glass is best tested with the real light behind it.
Quiet details take the most work
A handleless kitchen looks effortless. A fluted panel looks simple. Both are the result of careful making, and both have a lot to teach about what separates a good kitchen from an average one. The less you see, the more has been planned behind it.
This article explains how these two details are built, what they need to work well, and what to ask before choosing them. It is useful whether you want the look or only want to understand why it costs the effort it does.
How does a handleless door open? The grip profile
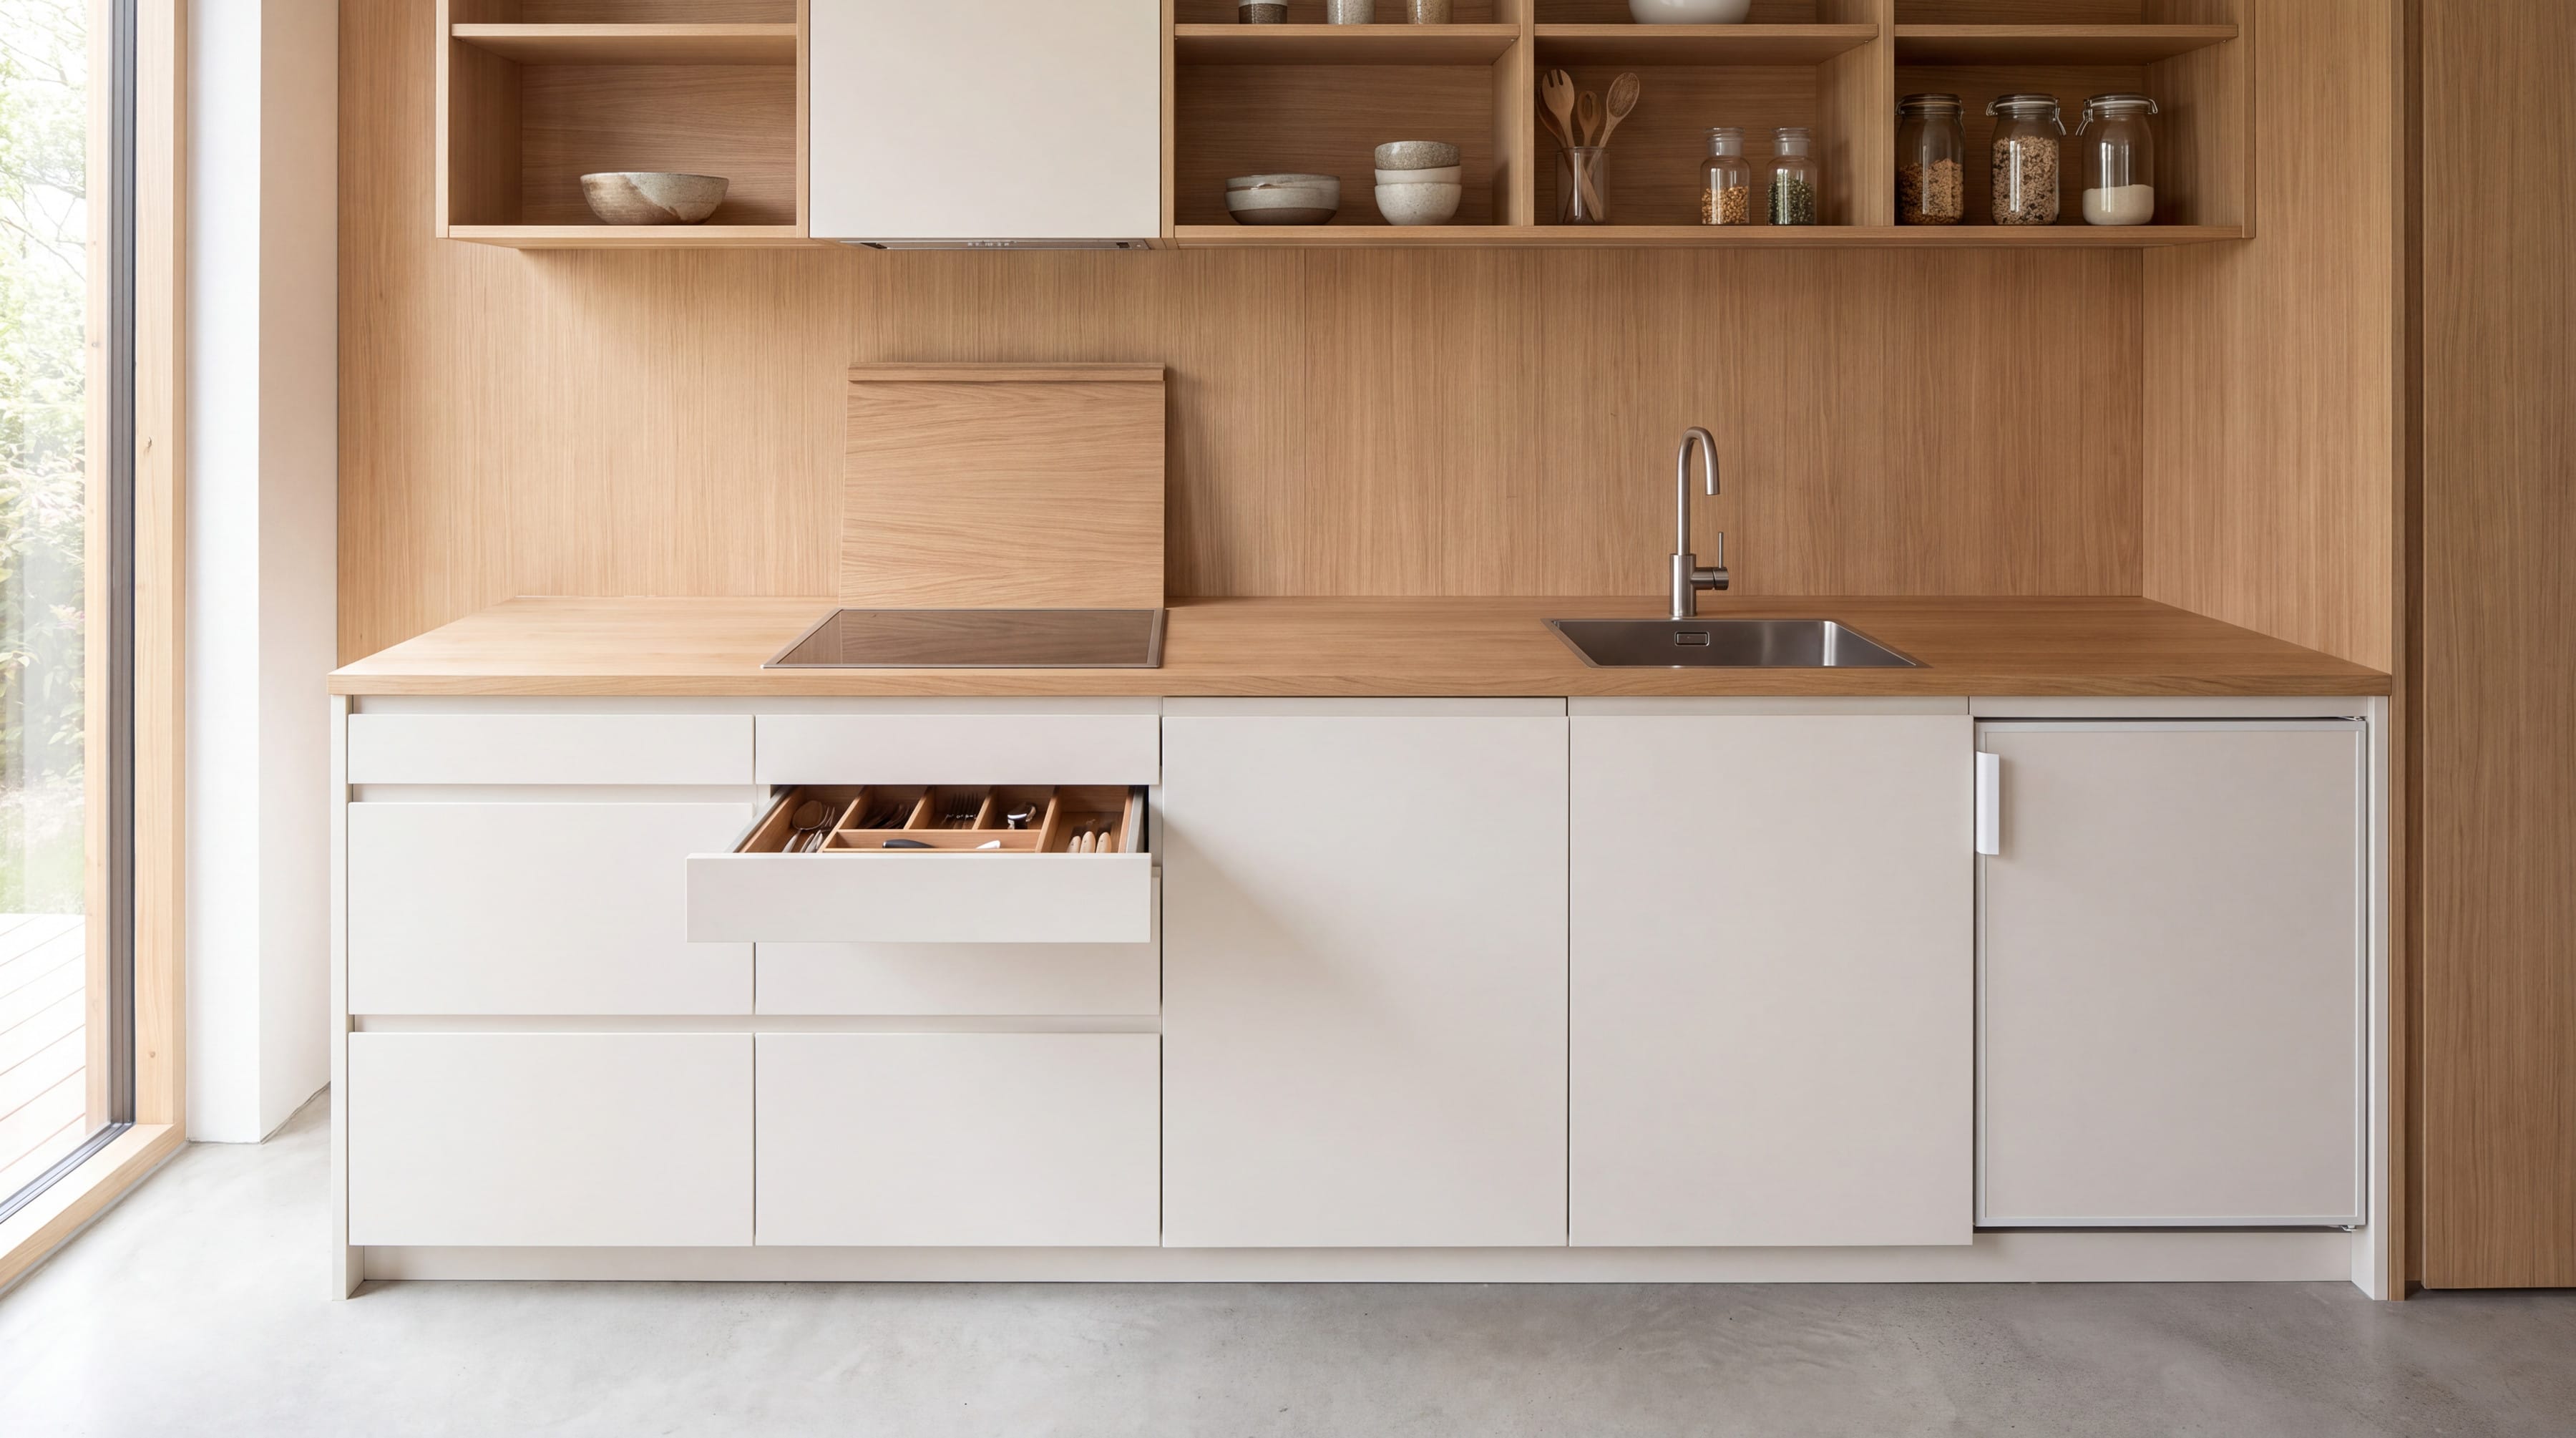
Without a handle, a door still needs something to hold. There are three common ways to provide it. The first is a profile fixed along the top edge of a base door or the bottom edge of a wall door. It is a thin section of metal or timber, with a lip your fingers curl under. It runs the whole width of the front and becomes a line in the design.
The second is a finger groove routed into the edge of the door itself. The door and the grip are one piece, and the result is clean and flush. It needs a thicker front, and the routing must be precise, because the groove is both a visible detail and a place where wear and dirt collect.
The third is a continuous channel between the units, which runs the length of a run of cabinets and gives a shadow line at the top of each drawer. Each of these affects how the kitchen looks. A visible profile makes strong horizontal lines. A routed groove disappears. Choose the one that suits the character of the room.
Where does push-to-open work, and where not?
Some handleless fronts have no grip at all. They open when pressed, with a spring mechanism that releases the door or drawer a few centimetres. This gives the cleanest possible face, with no lines and no shadows. It suits tall units, wall panels and hidden appliances.
It is less suited to areas touched by wet or greasy hands, because the front needs to be pressed and wiped. The mechanism also needs room behind it and careful setting, and a heavy drawer needs a mechanism rated for its weight. A push-to-open front that sticks or rebounds is irritating, so the settings must be checked on the finished kitchen and adjusted at a later visit.
Why even gaps matter on a handleless front
On a front with no handle, the eye goes to the gaps between the doors. If one is wider than the next, the whole wall looks wrong. A flush kitchen therefore demands tight and even gaps, usually a few millimetres, held across the whole run.
That depends on straight cabinets, accurate fronts, level floors and walls, and hinges and runners that can be adjusted in three directions. Rooms are never perfectly square, and a good installer corrects for that behind the fronts so that the lines remain true in front. This is why a proper survey of the room matters before anything is cut.
Leave room for the hand. A grip profile on the top edge of a base unit needs clear space above it, and the worktop overhang or the unit above must not block your fingers. Check this on the drawing, and check it again on a full-size mock-up of one door. Knuckles bruise easily, and a detail that looks fine on paper can be awkward to use.
Fluted timber: how the grooves are cut
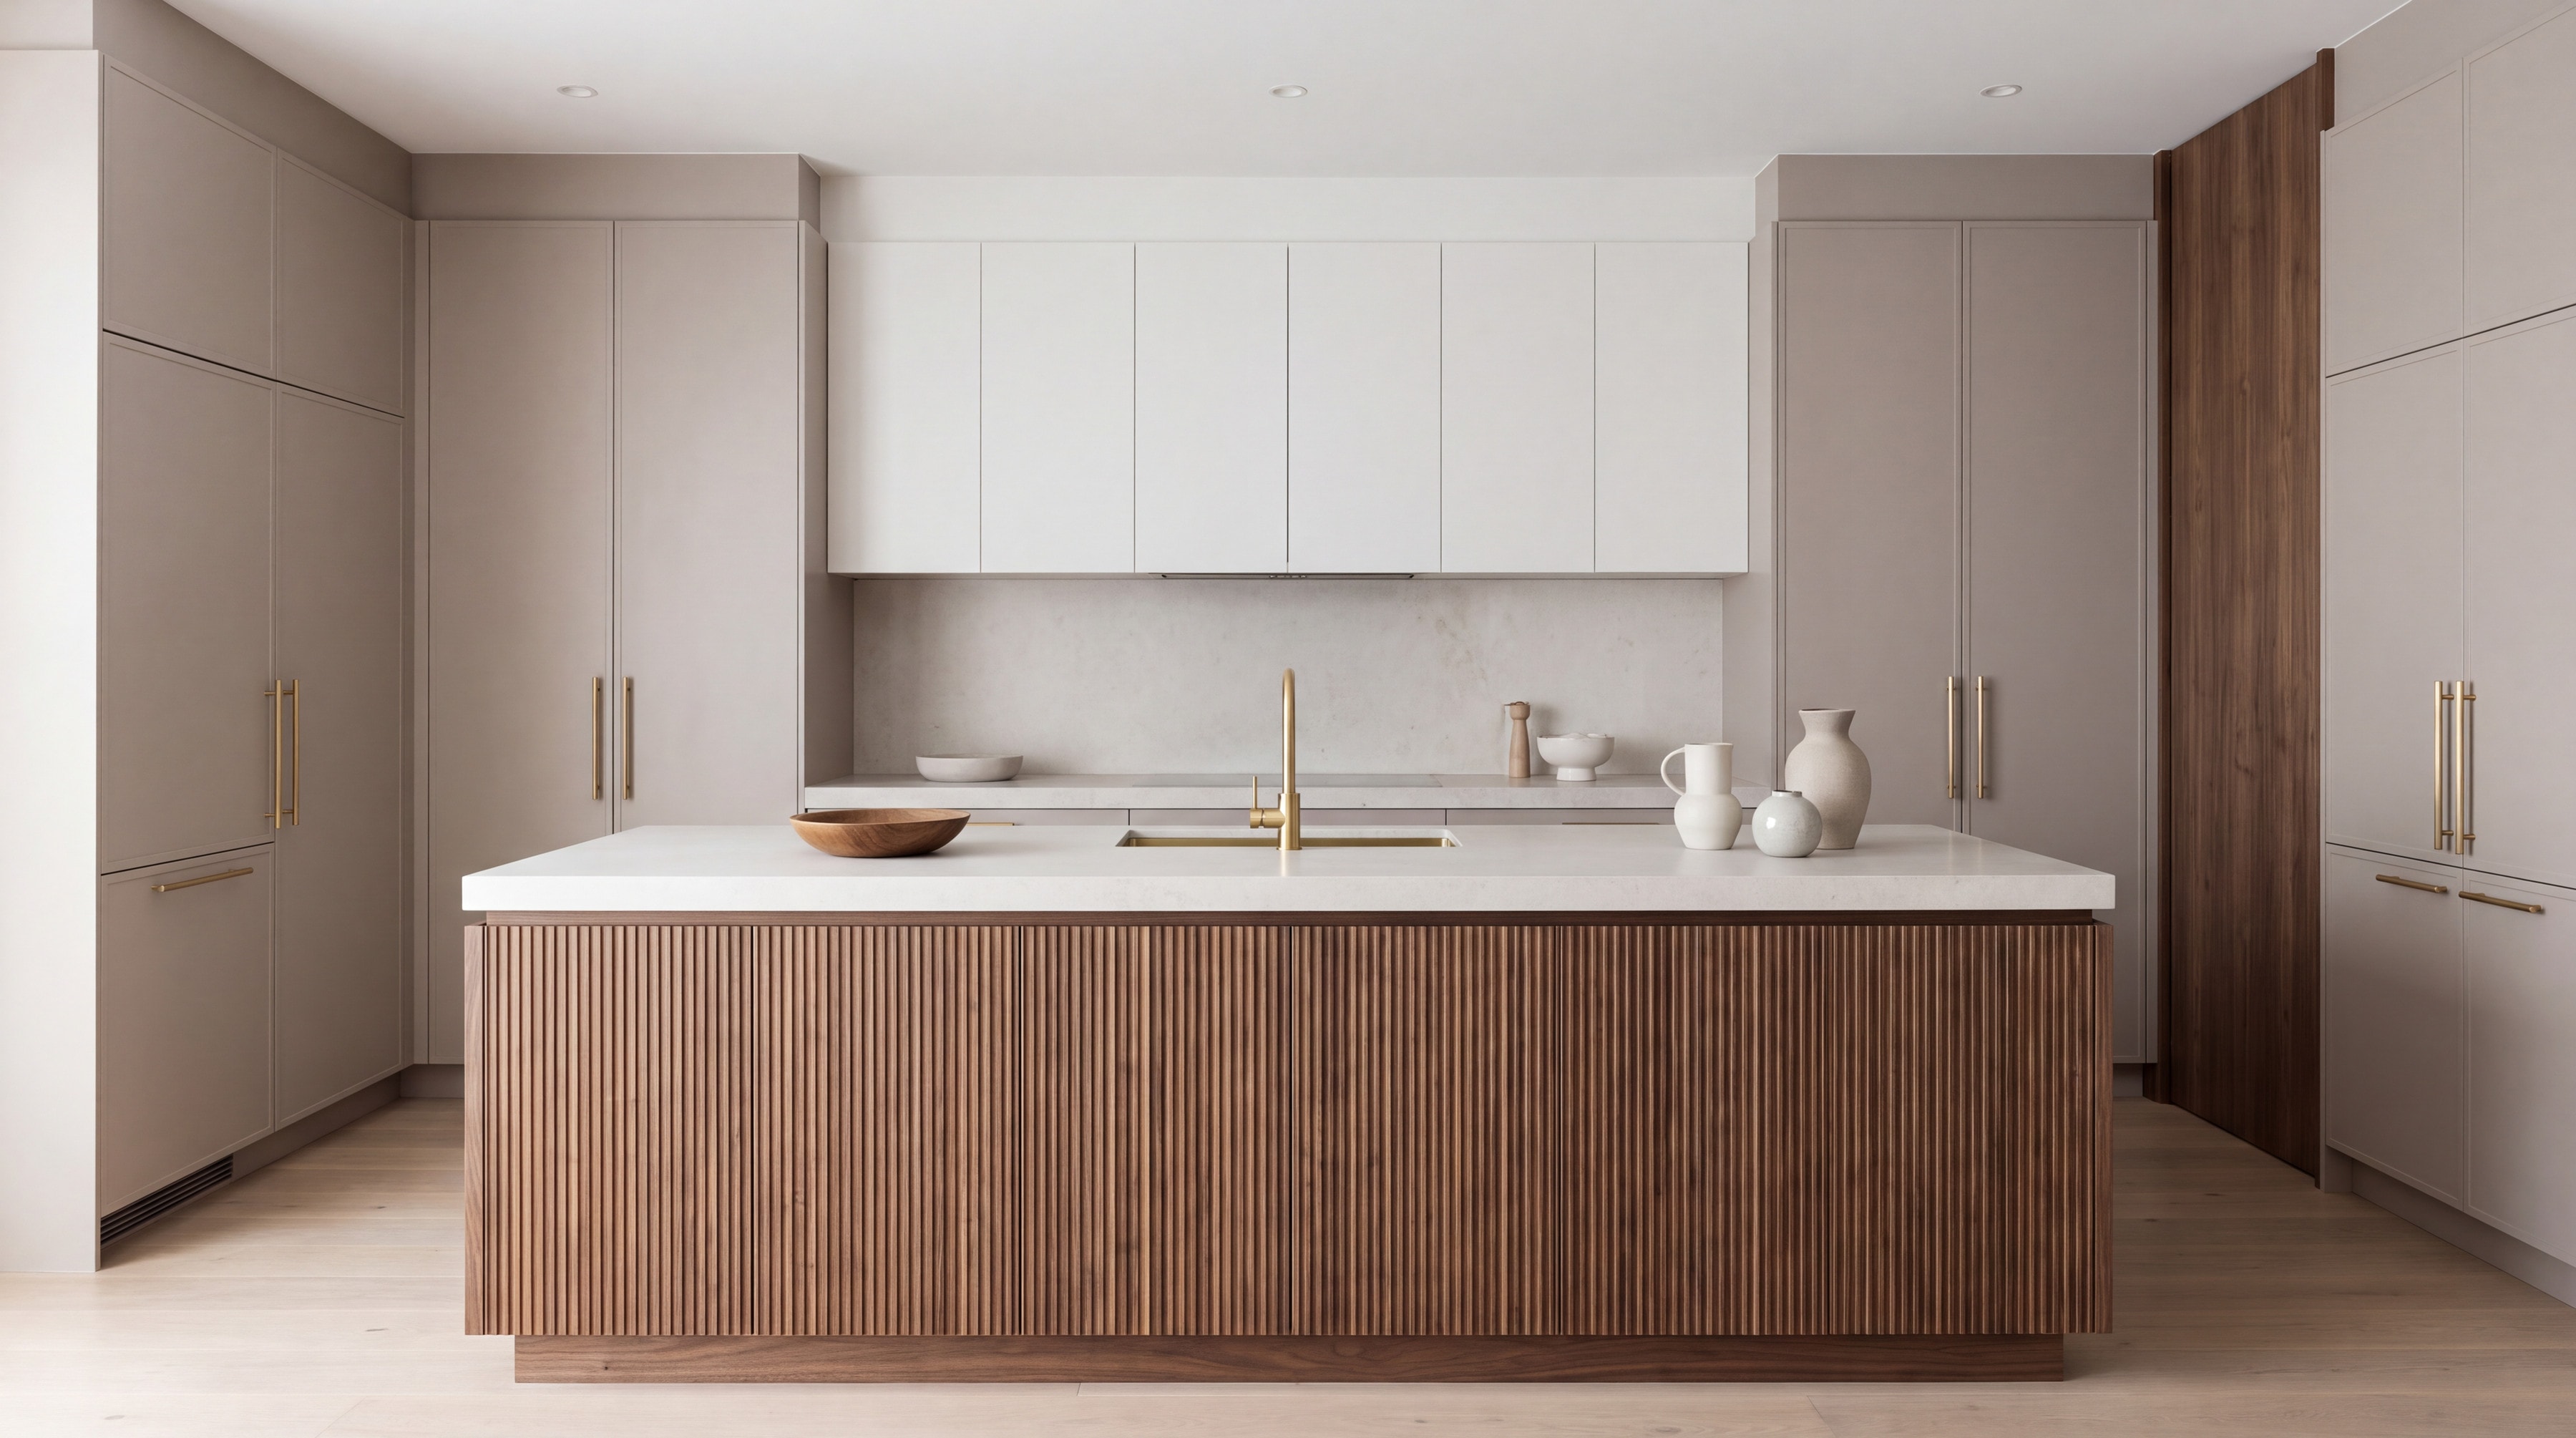
A fluted front has a pattern of vertical grooves, separated by rounded ridges. The term reeded is often used for the opposite profile, with rounded ribs standing proud, and in practice both words are used loosely. The effect is a surface that gives the eye a rhythm and the hand a texture.
The grooves are cut by a shaped cutter, following a pattern drawn on a computer, into solid timber or a timber veneered board. The depth and the width of the groove are chosen together with the thickness of the panel. A shallow flute is subtle. A deep one throws strong shadows. The ends of the grooves need a decision. They can run through the edge of the door, or they can stop short and leave a plain margin.
To look right, the pattern must continue across neighbouring doors, so the fronts are cut from the same panel in the order they will hang. The finish matters too. Oil or lacquer has to be applied into every groove, and any dust or thick build-up there will show.
Fluted glass: how it is made and fitted
Fluted or reeded glass has a ribbed pattern on one face. It is formed during manufacture, and the glass is usually toughened for use in a cabinet door. It softens what is behind it, so shelves and objects become shapes and colours and not clutter. It also catches light beautifully, and a lit cabinet behind it glows.
Where the ribs face, whether outward or inward, changes how it looks and how it cleans. Ribs on the outside are easier to feel and gather more dust in their channels. Ribs on the inside leave a smooth outer face that wipes clean. Test a sample with the real lighting behind it. The thickness of the frame around the glass matters too. A slim metal frame gives a crisp look and a timber frame gives a softer one.
How do you keep them clean?
Grooves collect dust, so a soft brush and a dry cloth are the best way to keep fluted fronts clean. Handleless edges are touched constantly, so choose a finish that tolerates it and wipe them down regularly. Both details reward attention in the first months. Doors may need small adjustments as the timber settles, and that should be part of the aftercare.