In short
Plan kitchen light in three layers: daylight, task light and a low, warm evening layer, each on its own switch. Put task light in front of the hands and close to the front edge of the wall unit, use few and careful spots for ambient light, choose one warm colour and plan the wiring before the walls close.
Think in layers, not fittings
Most kitchens are lit by a row of ceiling spots and a bright strip under the wall units. The room is easy to see in, and it is not pleasant to be in. Light is not one thing. It does several jobs, and each job needs its own source.
Plan the light as three layers. Daylight, which gives the room its character. Task light, which lets you work safely and see what you are doing. And evening light, which turns a working room into one you want to sit in. Each layer has its own rules, and each one should be able to be switched on its own.
Where does the daylight come from?
Before choosing a single fitting, study the natural light. Which way do the windows face? Where does the sun fall in the morning and the evening? A north-facing kitchen is even and cool, and benefits from warm surfaces and warm artificial light. A south-facing kitchen can be harsh at midday, and may need a blind or a reeded glass to soften it.
Daylight bounces. Pale walls, a light worktop and a glossy splashback carry it deeper into the room. A dark kitchen can be beautiful, but it will rely more on artificial light, and it should be planned for that. Keep the area in front of a window clear, because tall units that block it make the room darker than it needs to be.
Sit a work surface near a window if you can. Washing vegetables or kneading dough beside natural light is one of the quiet pleasures of a good kitchen.
Where should task light go?
Task light falls on the worktop, where you chop, pour and read a recipe. The most common error is to rely on a ceiling light behind the cook. The cook's own body then casts a shadow across the work. The solution is light that comes from above and in front of the hands.
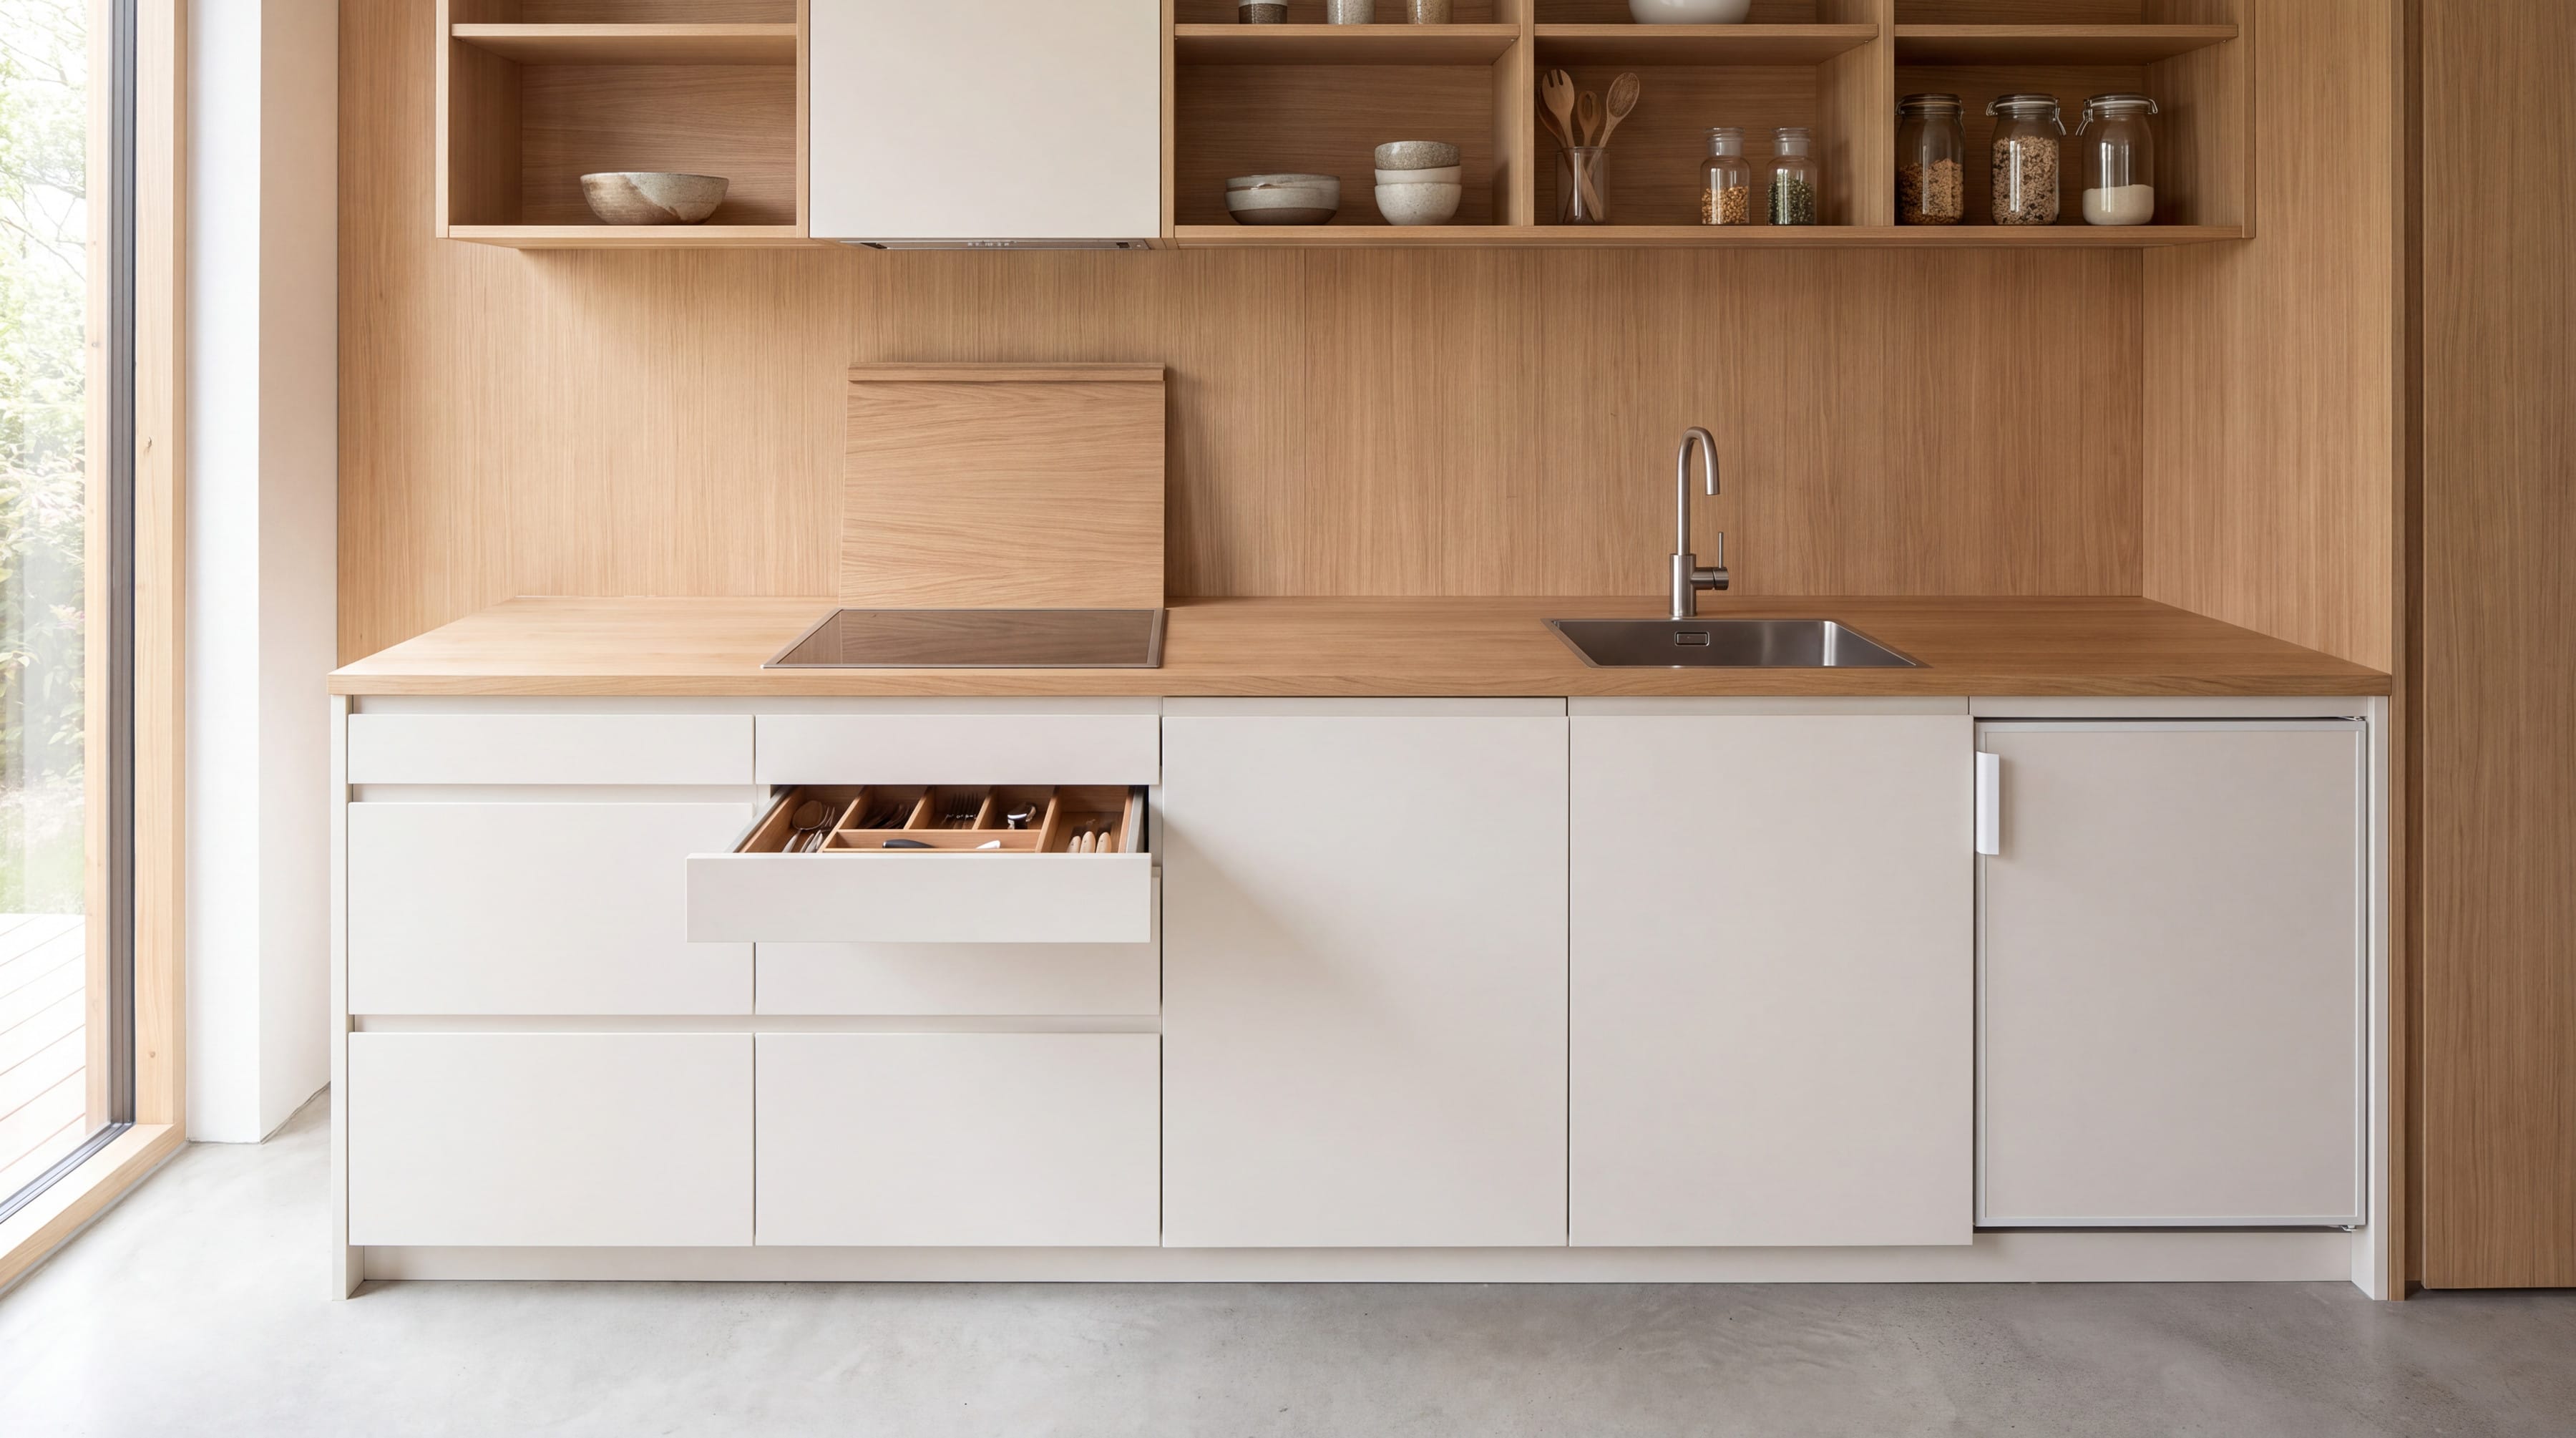
Under-cabinet lighting does this well. Place the strip close to the front edge of the wall unit, so the light falls on the counter and not on the splashback, where it would reflect into the eyes. A diffused strip gives an even wash, without the bright dots that show on a polished surface. Plan the same for the hob and the sink, which are the places where you most need to see.
Inside deep drawers and tall larders, a small light that switches on as they open is both practical and a pleasure. It also shows you what you own.
Watch for reflections. Gloss lacquer, a glass splashback and a polished worktop can all throw a bright image of a fitting straight back at the cook. Test this by standing where you will work, with the sample in the position it will take, and looking at the fitting from that point. A small change in the placement of a light often removes the glare completely.
How many ceiling spots does a kitchen need?
Ambient light fills the room and makes it comfortable. Recessed spots are common, and they work if they are few, placed with care and set slightly forward of the work areas, not directly above them. Too many create a pattern of bright pools on the floor and a ceiling that looks like a sieve.
Over an island, pendants add scale and a focal point. Hang them low enough to feel intimate and high enough that nobody has to bend around them, and make sure the glare does not reach the eyes of people sitting at the counter. A cove or a shelf concealing a light above the wall units can wash the ceiling and make a low room feel taller.
What makes a kitchen feel warm at night?
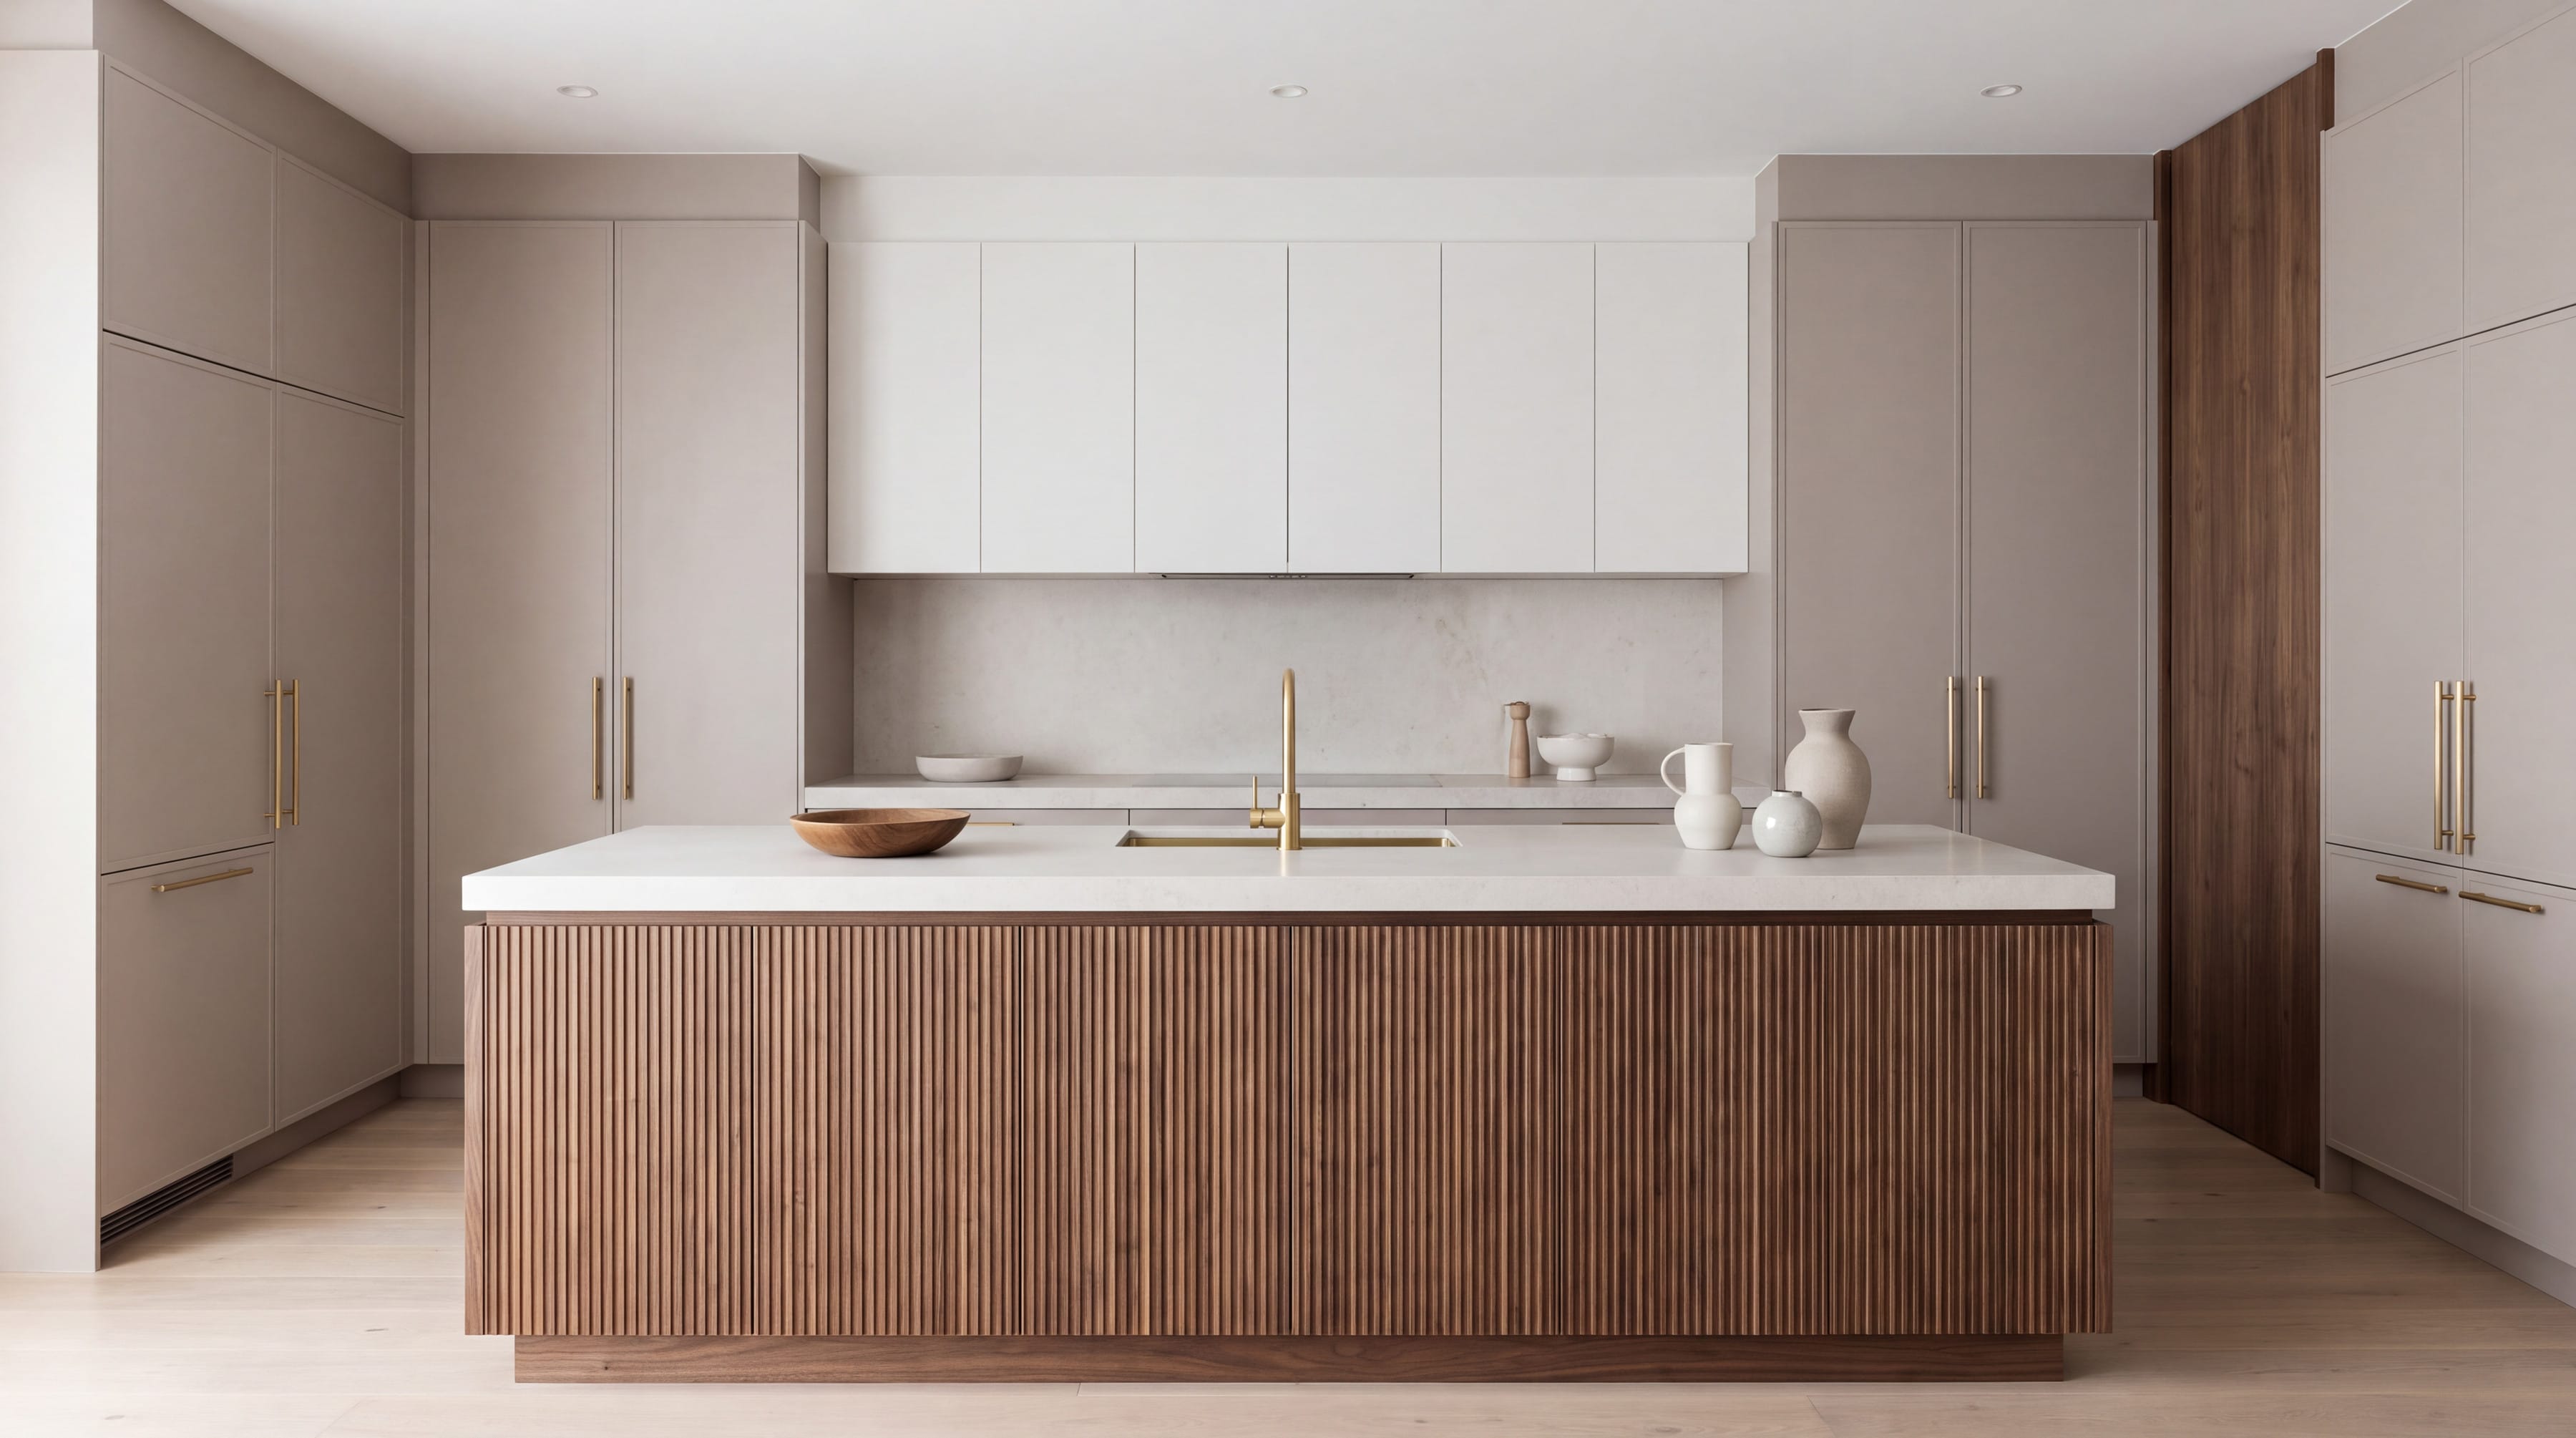
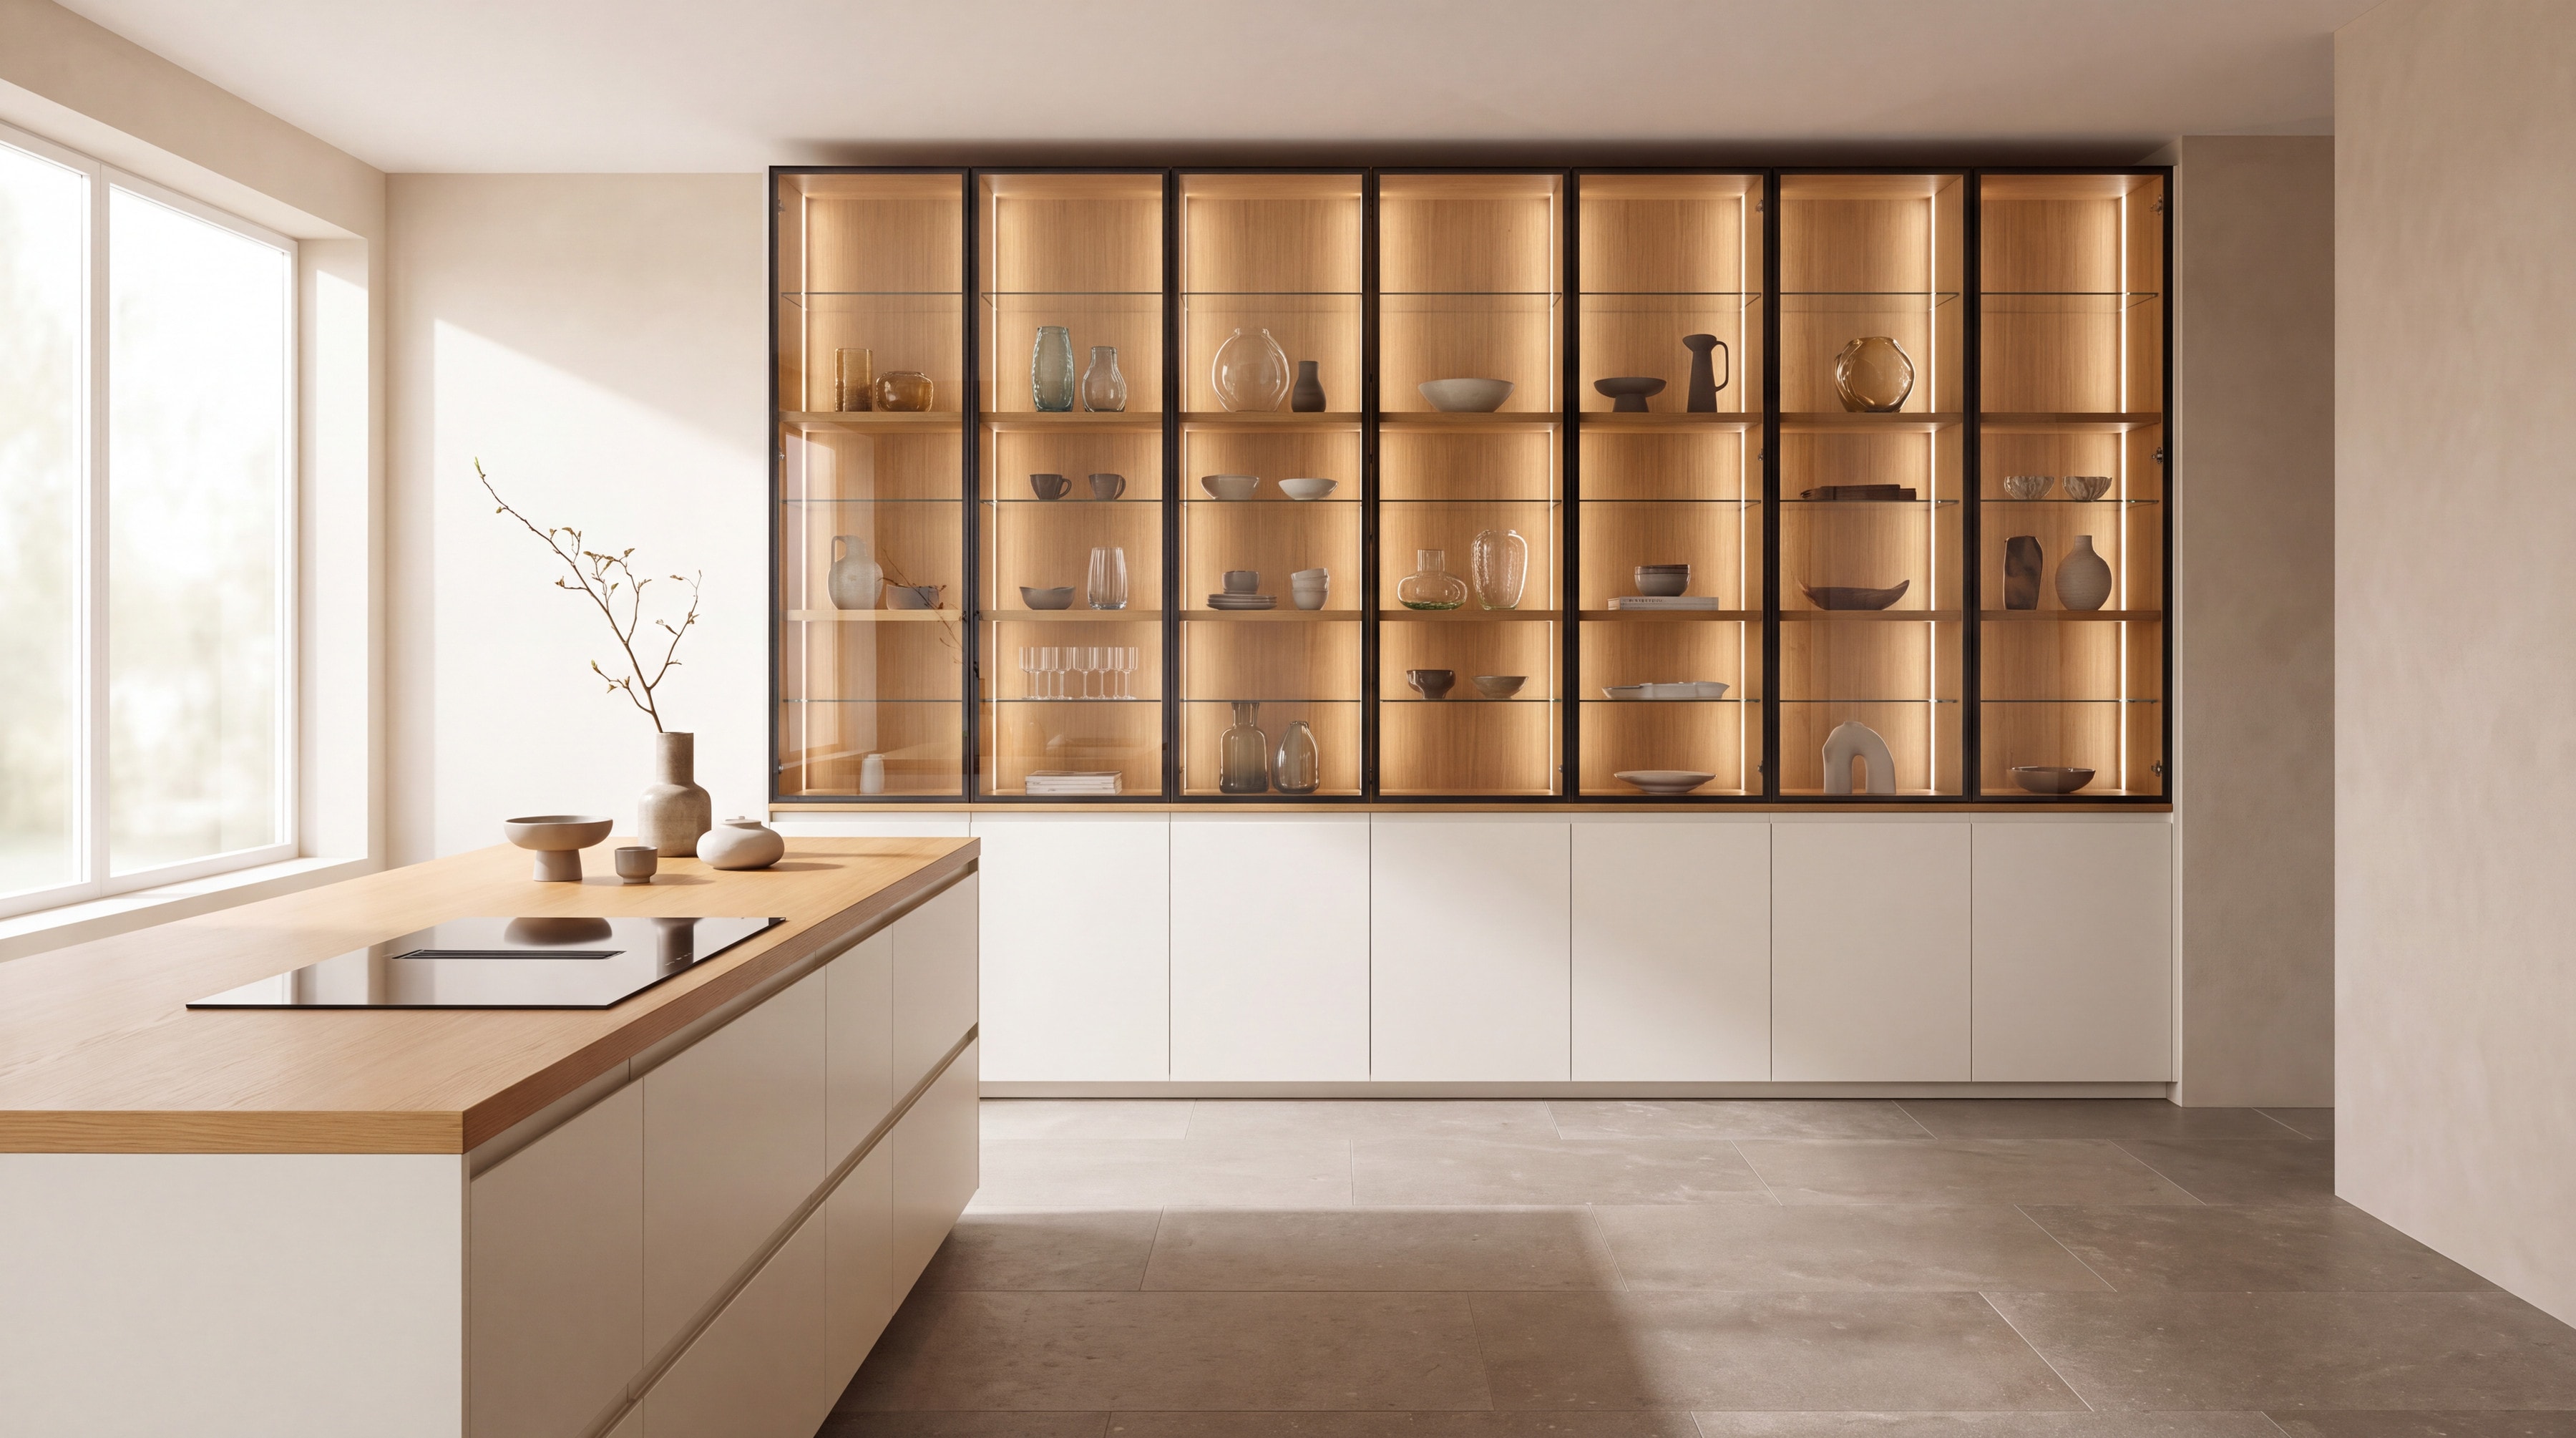
At night the working lights should switch off, and a different set should come on. This is the layer that turns a kitchen into a room for conversation. A glow inside a glass-fronted cabinet. A thin line of light under a floating island or a plinth. A lit niche with a single object in it. A pendant on a dimmer.
These are small, low and warm. They do not light the room evenly. They give it depth and let the eye rest. Reeded and fluted glass work especially well here, because they catch the light and soften what is behind them. In an open-plan room, this layer is what lets the kitchen stop competing with the living space once the cooking is done.
Which colour and quality of light?
Not all light is equal, even at the same brightness. Look for a high colour accuracy rating, which describes how faithfully a source shows colour and is often printed on the packaging as a CRI value. Food, wood and worktops look wrong under poor light. Ask to see the fitting switched on beside your samples, not described on a data sheet.
Choose a warm colour of light for most of the room, and keep it consistent. A cool white strip next to a warm pendant makes the two sources fight, and the worktop looks different in each. Warm light is kinder to skin, to timber and to the end of a long day.
Switches, dimmers and wiring
Put each layer on its own switch, and put dimmers on those that benefit. Make sure the dimmer and the lights are made to work together, because a poor match causes flicker and buzzing. A well-planned set of switches lets you move from morning, to cooking, to supper, to night in a single touch.
Plan the wiring before the walls are closed. A power feed to a lit cabinet, a driver in an accessible place, a cable to a pendant over the island. These are simple when the room is open and expensive when it is finished. Draw the lights on the plan next to the units, so that each fitting has a home.